
Clay is honest. A rim that dips on one side, a handle that drops off two days after you attach it, a hairline crack through a base once it comes out of the kiln — each of those is a message about something that happened earlier in the process. The encouraging part is that nearly all beginner problems come from the same short list of habits, and every one of them has a fix you can try on your next session at the wheel.
Wedge your clay before it touches the wheel
Trapped air is behind most pots that blister, crack or split in the kiln, and it almost always comes from skipping the wedging. Clay straight from the bag still holds pockets of air and patches of soft and stiff material. It feels fine under your hands and then behaves unpredictably once the walls get thin, and it dries at different rates across the pot — which is how cracks begin.
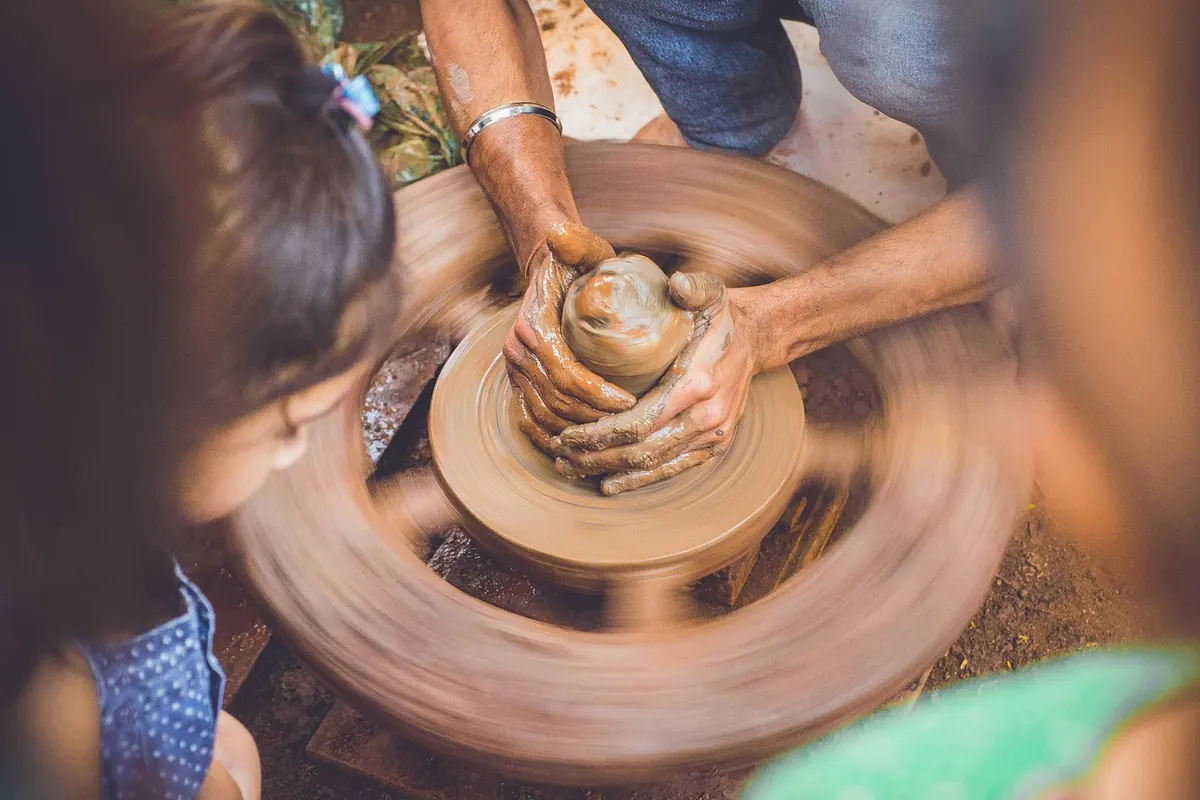
Wedge every lump you throw, spiral wedging or ram's head, until it feels uniform and slightly warm. Cut a lump in half with a wire and look at the face: no holes, no streaks. Keep the rest of the bag wrapped while you work, because clay dries on the wheel-head faster than you expect.
Uneven walls, soggy clay and heavy bases
Walls that vary in thickness usually come from pulling with your fingertips instead of the flat pad of your finger, and from trying to gain height in too few pulls. The clay gets dragged rather than compressed, and the pot starts to wobble before you have finished.
Slow down and take three or four gentle pulls instead of one heroic one. Use the side of your finger or the heel of your hand, keep the wheel at a moderate speed, and compress the rim between thumb and forefinger at the end.
Less water, more compression
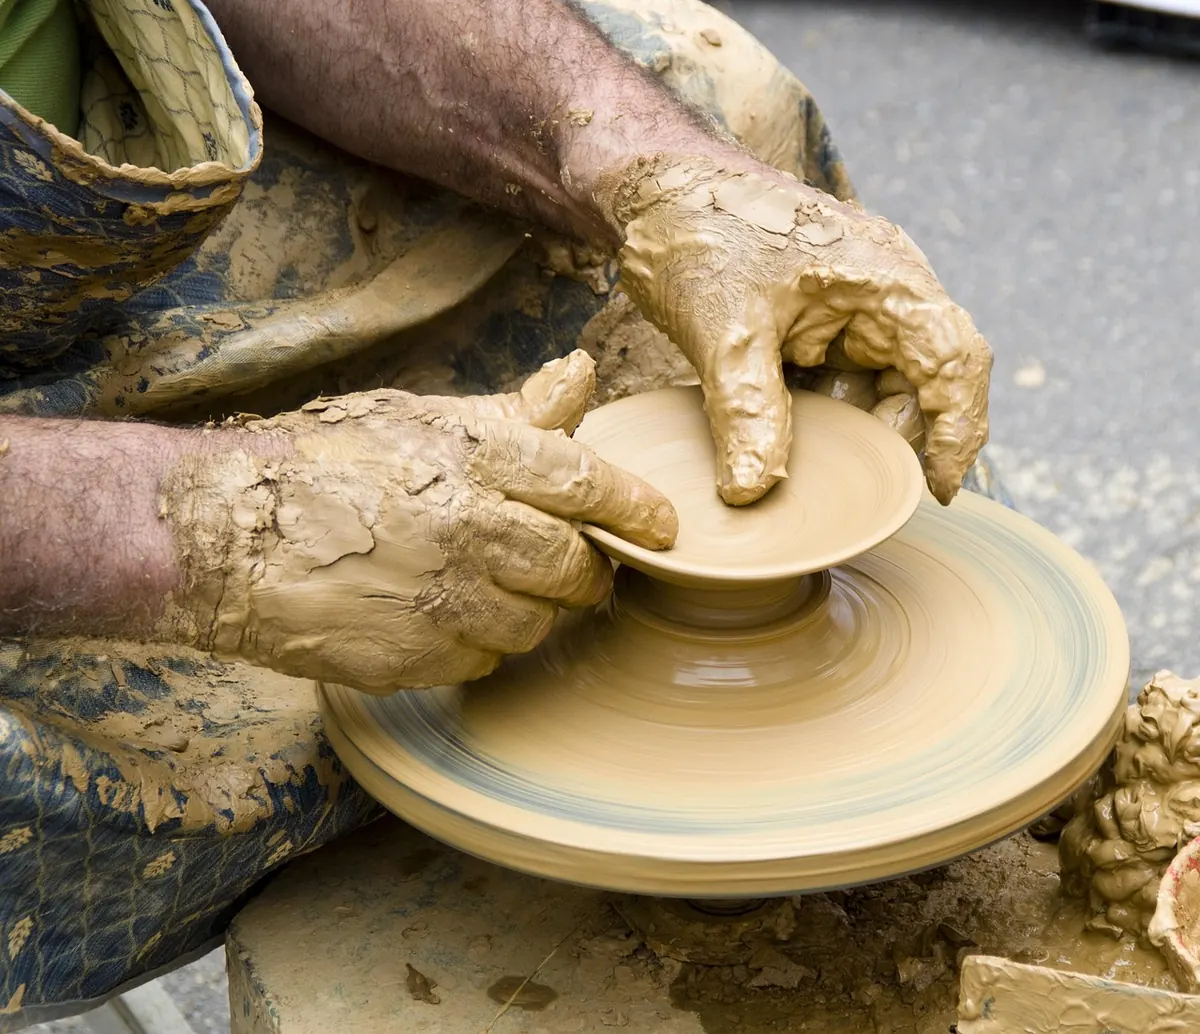
Too much water causes as much damage as too little. Slurry running down the outside of a wall makes it heavy and weak, and the pot slumps while you are still shaping it. Use just enough to lubricate, sponge away the worst of the slip as you go, and if the clay starts to feel like a wet bar of soap, stop and let it firm up for a few minutes.
Keep the base in proportion
A floor far thicker than the walls dries more slowly than the rest of the pot and can crack as it shrinks. Aim for a floor a little thicker than the walls rather than several times thicker, and press it down firmly with a rib before you start pulling.
Joins that fail a week later
Handles that come away in your hand, spouts that leak, feet that separate in the kiln: the cause is nearly always the join, not the firing. Two pieces of clay will not bond on contact alone. They need a mechanical key and matching moisture.
- Let both parts reach the same stage. Leather hard is usually right; wet clay pressed onto bone dry will fail.
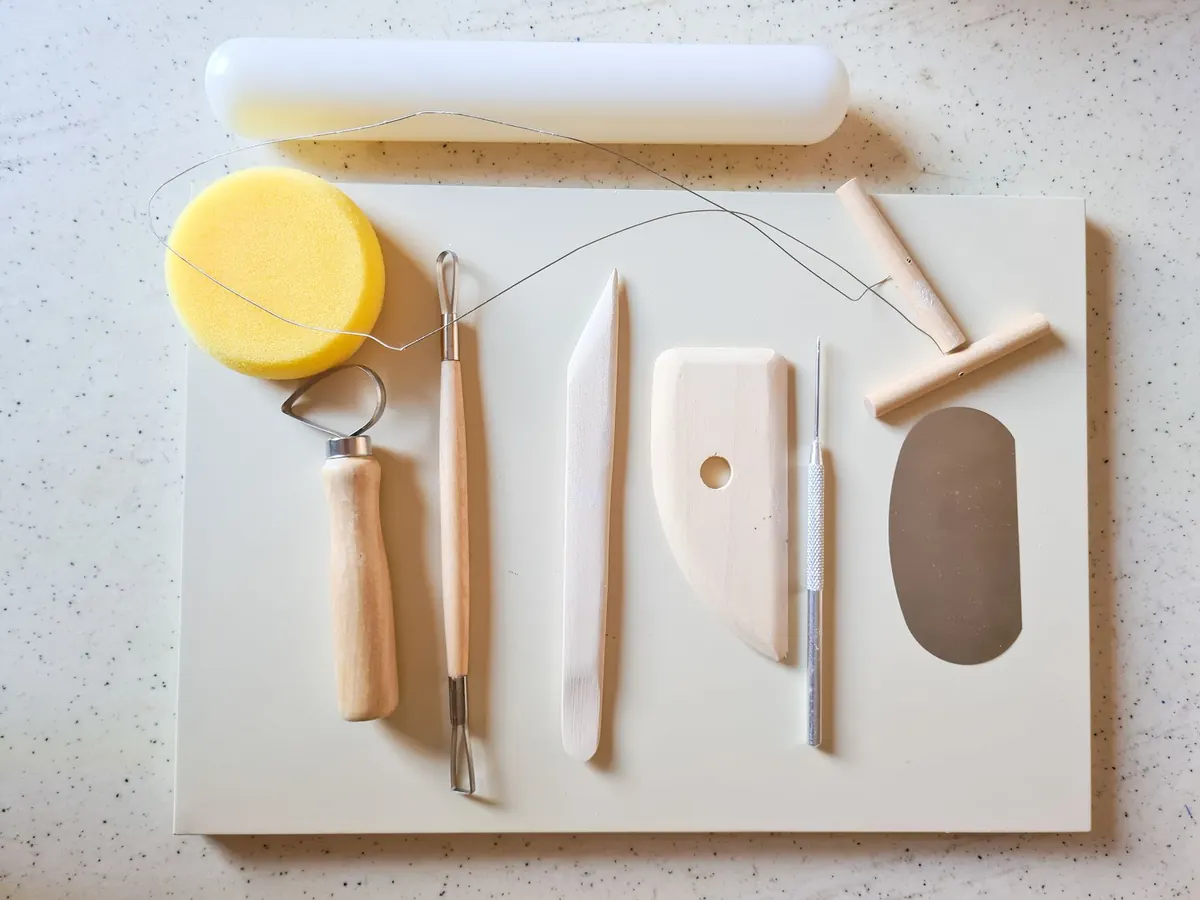
- Score both surfaces with a fork, needle tool or serrated rib, scratching across the join in more than one direction.
- Paint on slip made from the same clay body. Water alone is not enough.
- Press the pieces together firmly and hold them, without twisting or sliding.
- Blend the seam with a rib or your thumb, then support the join while the pot dries so its weight does not pull it open.
Rushing the drying and trimming stages
Drying too quickly is the quiet cause of a lot of cracks. Thick bases, joins and handles release water more slowly than thin walls, so they shrink later, and the pot tears itself apart. Draughts, radiators, sunny windowsills and the top of a warm kiln are all spots to avoid. Cover work with a plastic bag or a lidded tub and let it dry slowly, especially anything with attachments; if a piece needs a nudge, open the bag gradually over a day or two rather than whisking it off.
Trim at the right moment
Trimming too early ruins a pot and trimming too late chips it. Wait until the clay is leather hard: a fingernail leaves a faint mark and the wall holds its shape when pressed. Use a sharp loop tool, take light cuts rather than one deep one, and support the pot properly — a wad of clay or a chuck will hold a bowl steady so the base stays concentric.
Glazing by eye, on dusty bisque
Glaze problems — crawling, pinholing, drips welded to the kiln shelf, a surface that looks thin and dry — are usually caused by application rather than the recipe.
Stir glaze thoroughly before use and sieve it if the supplier recommends it. Dip times matter more than beginners expect, so time your dips and write them down. You want a consistent, even layer; thick pools low on a pot and a thin patch near the rim will both show after firing.
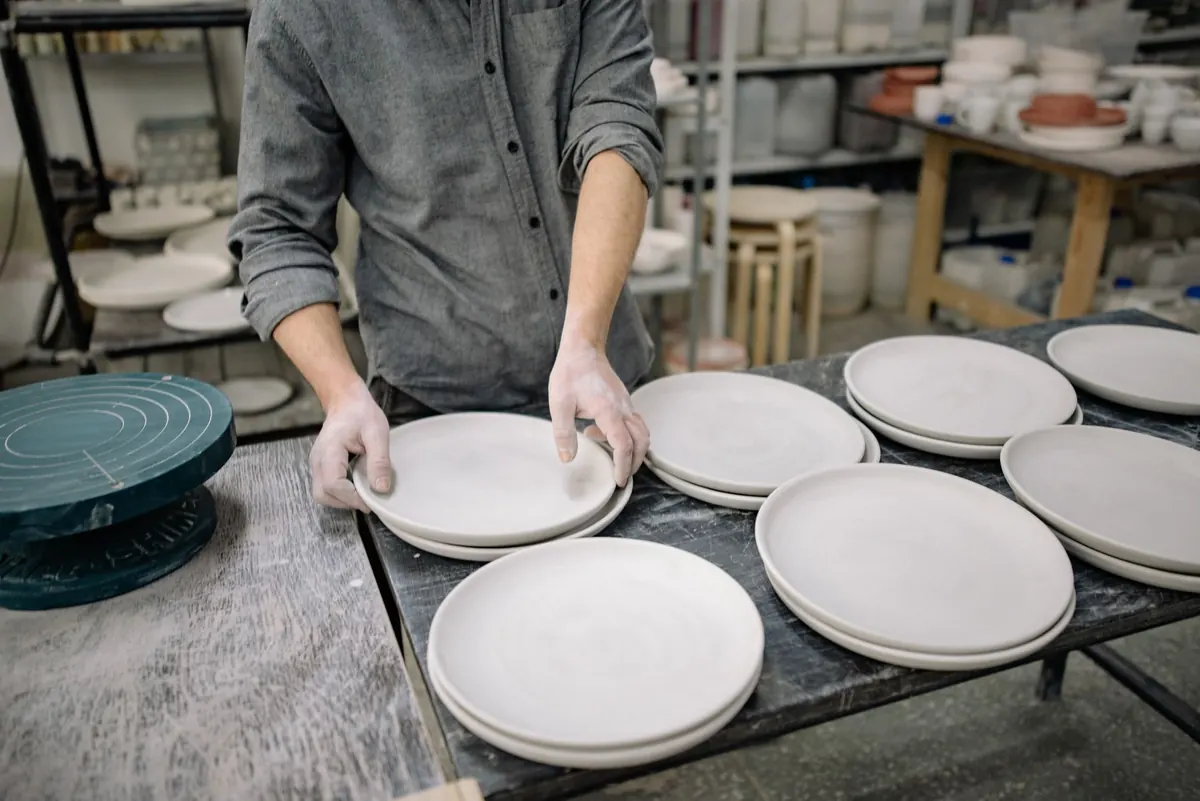
Two habits make a big difference. Glaze a test tile or a small pot before committing a batch, and clean bisque ware first — dust and grease stop glaze adhering, which causes crawling and bald patches. Wipe the foot ring clean and leave a margin, because glaze that runs onto the shelf can spoil the pot and the kiln furniture. For food-safe results, use a clay and glaze made for functional ware and fire to the recommended temperature.
Forgetting about clay dust
The one mistake on this list that affects your health rather than your pots is dry clay dust. The fine silica particles in clay and glaze materials are why potters are careful about cleaning up.
- Keep surfaces damp and mop or sponge rather than dry sweeping.
- Wipe down tools and the wheel at the end of each session.
- Wash your hands before eating or drinking.
- Wear a properly fitted mask when mixing dry glaze materials or sanding bisque.
- Store powders in sealed containers and ventilate the space.
If you have an existing lung condition, or you are pregnant or unsure what is suitable for you, speak to your GP or another health professional before committing to a regular studio routine.
A routine that prevents most of these
None of this needs expensive equipment or years of experience. It is a set of habits, and each one takes a few minutes.
- Before you throw: wedge the clay.
- While you throw: less water, better compression, slower pulls.
- Before you join: score, slip and match the moisture.
- After you throw: cover it and let it dry slowly.
- Before you glaze: clean the bisque and test first.
- After every session: wipe down, mop up, wash your hands.
Pick one of these to concentrate on next time you sit at the wheel. Potters who sort out their wedging and their water use tend to lose far fewer pieces in the kiln, and everything else becomes easier once the basics stop fighting back.
Photo: Pexels / Pixabay