
You don't need a studio to glaze pottery. A corner of a shed, three buckets and a reasonable tolerance for mess will get you most of the way — and the kiln firing, the part that stops most beginners, can be borrowed, shared or paid for by the shelf. The order matters more than the equipment: safety first, then thickness, then drying, then firing.
Safety first: dust, lead and ventilation
Glaze is ground minerals suspended in water. Wet, it is fairly harmless. Dry, it is dust, and that dust is the thing to respect — fine silica and metal oxide particles are not what you want in your lungs or spread across a kitchen worktop.
Lead glazes are no longer sold for domestic pottery in the UK, but an old tub from a house clearance may still contain it. Treat any unlabelled glaze with suspicion, and only use a glaze on food-contact ware if the manufacturer states it is food-safe and lead-free.
Good habits beat expensive kit:
- Work somewhere ventilated — a garage, shed, utility room or conservatory. Indoors, keep a window open and a fan pushing air outwards.
- Wear an FFP3 mask when sieving, mixing or brushing dry glaze. That includes brushing powder onto a pot.
- Keep buckets lidded and out of reach of children and pets.
- Clean up with damp cloths and a mop. Dry brushing just lifts the dust back into the air.
- Wash your hands before eating, drinking or touching your face. No mugs of tea in the glazing area.
- Never pour glaze down the sink. Let waste settle in a bucket of water, pour off the clear water, and dispose of the sludge as your council advises.
If you intend to sell your work, check the current UK requirements for food-contact ceramics before describing anything as food or dishwasher safe.
The minimum glazing kit for a home setup
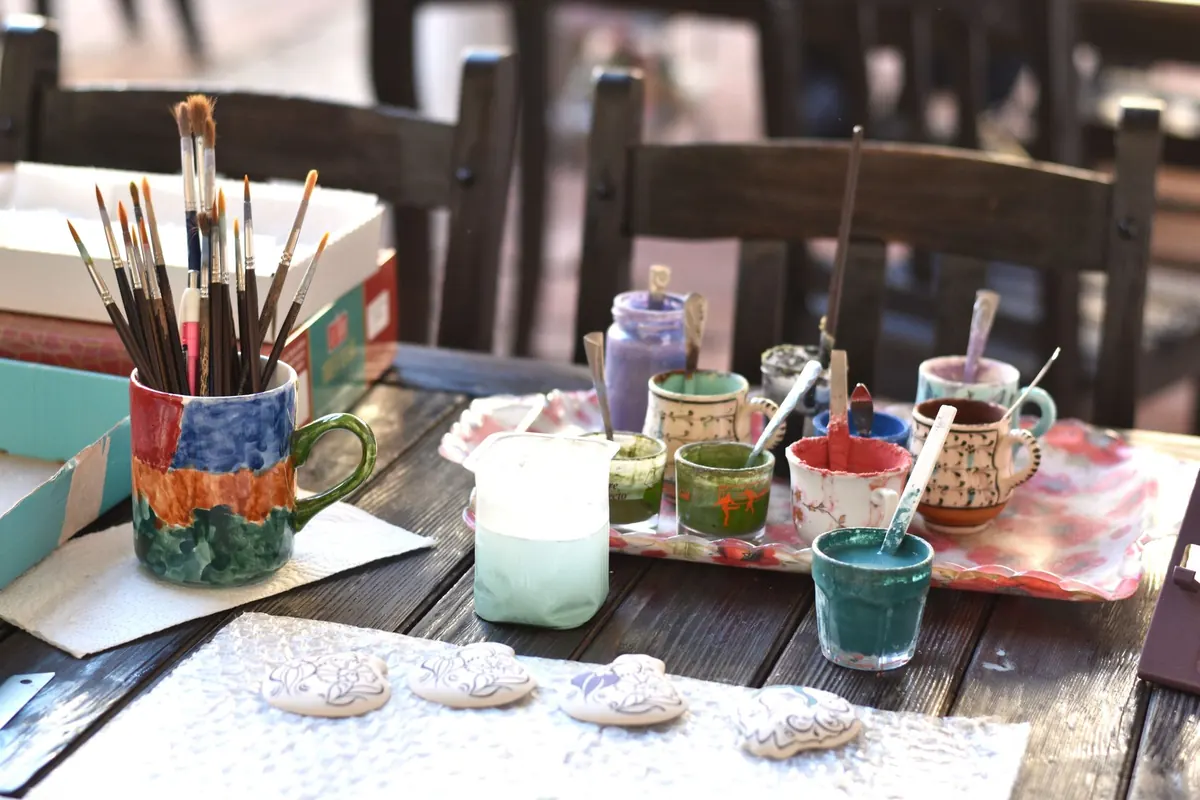
- Three lidded 5-litre buckets: one glaze, one clean water, one waste.
- A commercial liquid glaze — far easier to start with than mixing from powder.
- An 80–100 mesh sieve for lumpy glaze.
- Glaze tongs, or long-handled kitchen tongs.
- Wax resist and a brush for the foot ring.
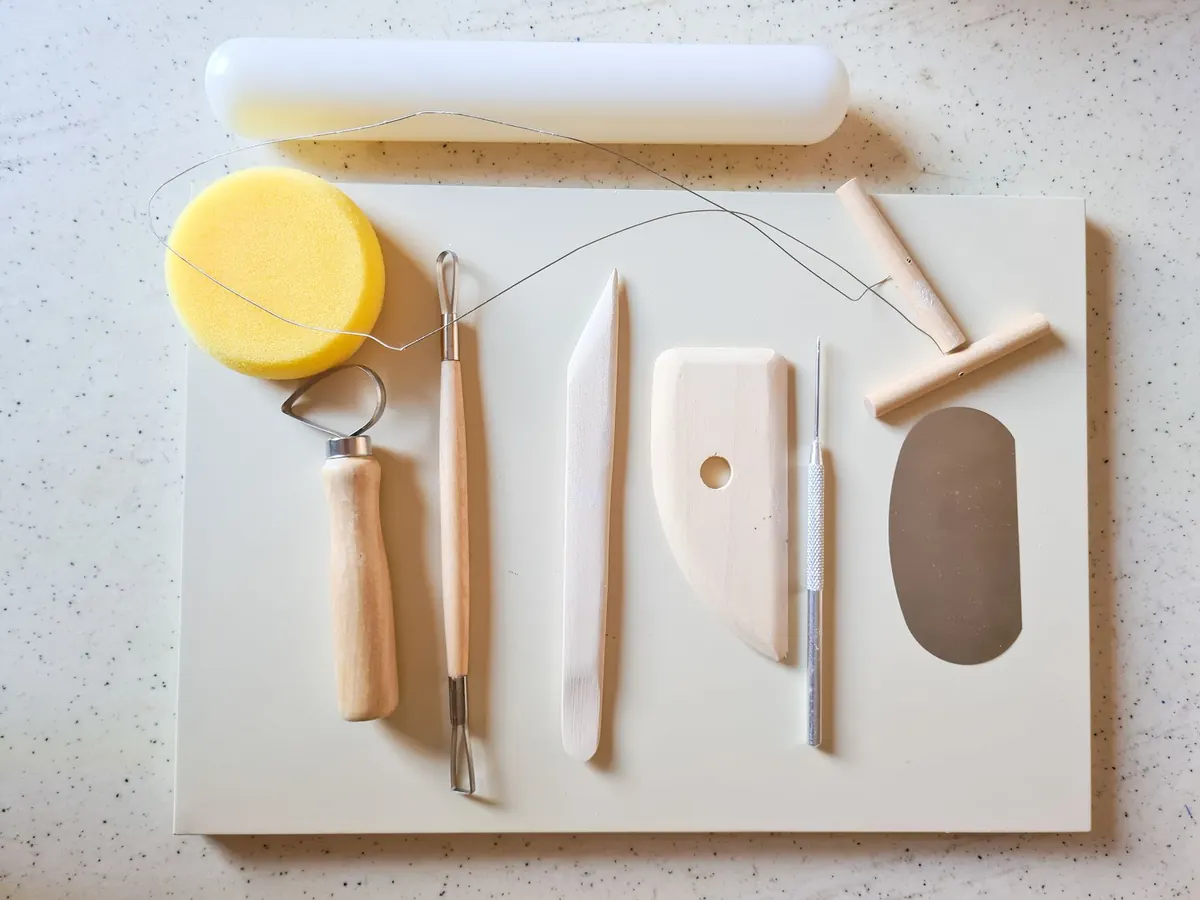
- Sponges, a towel and a board lined with newspaper for drying.
- Mask, gloves, apron and a notebook for recording what you did.
Preparing bisque before the glaze goes on
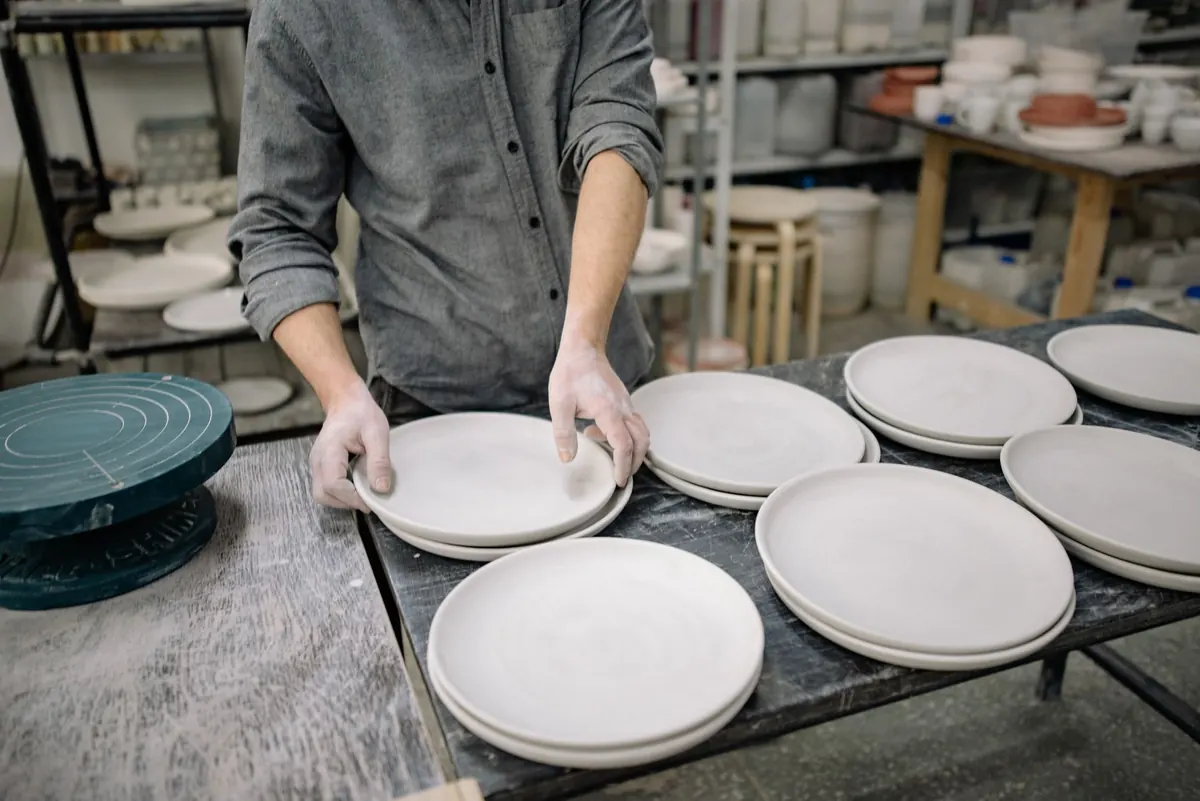
Glaze sticks to bisque because bisque is porous. Grease, dust and fingerprints all interfere with that. Wipe each pot with a damp sponge and let it dry, then handle it as little as possible. Wax the foot ring — roughly the bottom 3–5mm, plus any lid gallery or point where the pot will rest on a kiln shelf. Wax resist needs to be dry before you glaze; a hairdryer on a cool setting speeds this up.
A gently warmed pot takes glaze more evenly than a cold one. A few minutes on a sunny windowsill or in a low oven is enough. Hot is not the aim; warm is.
Three ways to apply glaze
Dipping
Stir the glaze thoroughly, then check its consistency. It should look like single cream, not milk and not porridge. Many potters aim for a specific gravity in the region of 1.4 to 1.5, which a hydrometer will confirm, but the texture test works well enough at home. Hold the pot with tongs, lower it in at an angle so air escapes, count three or four seconds, lift and drain. One dip usually gives about the right thickness: roughly a millimetre.
Pouring
The best method for the inside of a narrow pot. Hold the pot over the glaze bucket and pour glaze in, swirl it around the wall, then tip it out. Pour the outside over a bowl or bucket so the glaze can go back in the tub. Work quickly and don't let it pool in the base.
Brushing
Use a soft, wide brush made for glaze, load it well and apply in overlapping strokes in one direction, then a second coat at right angles. Brushing gives you control and lets you layer colours, but it is hard to get an even thickness. Two or three thin coats beat one thick one.
Whichever method you use, wipe away any glaze that has crept onto the foot with a damp sponge before the pot dries.
Drying properly — and how long it really takes
Glaze must be bone dry before firing. Damp glaze turns to steam in the kiln, and steam blows chunks off the surface. In a warm room, overnight is usually enough. In a cold, damp shed, allow 24 to 48 hours. The test is simple: the pot should feel cool and dry to the touch, with no darker, damp-looking patches.
If fine cracks appear across the dried glaze, that is normal. Rub them over with a damp fingertip or a lightly dampened sponge and let the pot dry again. Never stack glazed pots while they dry — leave a few centimetres between them, and don't let glaze touch glaze.
Arranging a kiln firing when you don't own one
Most home potters glaze far more often than they fire. Plenty of places will fire your work for a fee:
- Local pottery studios that hire out kiln space by the shelf.
- Community arts centres and adult education ceramics courses.
- Individual potters offering a kiln share, often found through local pottery groups.
- Ceramic suppliers and clay shops that run a firing service.
- Mobile kiln services that collect, fire and return your work.
- College or university ceramics departments, which sometimes take outside work in the holidays.
Before you commit, ask what maximum temperature they fire to, whether they accept outside glazes, whether your pots go in with their own work, how they charge (per shelf, per kilo or per item), what the turnaround is, and who unloads the kiln. Know your glaze's firing range in advance — many commercial glazes state it on the tub, and it needs to match.
Transport your work packed in a box with newspaper between pieces. Don't stack them, and label everything with your name, contact details and firing temperature.
A home setup that actually works
Start small and boring. One glaze, one bucket of clean water and a dozen test tiles. Glaze the tiles, fire them with your next batch, and keep notes on dip times, coats and results — that notebook is what turns guesswork into repeatable work. A cheap plastic tray under everything catches drips, a lidded storage box keeps dust down, and a shelf on the shed wall keeps finished pots out of harm's way.
Once you can glaze six pots in a row without a run, a pinhole or a bare patch, you have the whole process. Everything after that is choice of colour.
Photo: Elif Yıldız / Pexels