
A pottery studio is a forgiving place to work. Clay is soft, glazes are colourful, and the worst thing that happens most days is a collapsed cylinder. That gentleness is exactly what makes the risks easy to overlook. The serious hazards in a ceramics workshop are the boring, repetitive ones: dust you can't see, air you don't move, sockets near water, and habits that quietly become permanent.
None of this needs to be intimidating. A few minutes of checking before you sit down at the wheel or open a bag of glaze material removes most of the danger. Here's what to run through before a session, whether you're working in a shared community studio or a shed at the end of the garden.
1. Start with the air: silica dust
Silica dust is the hazard most potters underestimate. Clay contains free crystalline silica, and so do many glaze ingredients, sand and kiln wash. The dangerous particles are the fine ones that stay suspended in the air long after you've stopped working, and the harm builds over years rather than days.
The guiding principle is simple: keep everything wet, and don't let dust get airborne in the first place.
- Never sweep a dry studio floor. Damp-mop or use a wet vacuum instead.
- Sand bisque outside, wet-sand with a damp sponge, or work under an extractor.
- Mix dry glaze materials in a sealed container or a dedicated mixing area with extraction, and wear a P3-rated respirator, not a paper dust mask.
- Keep clay scraps and trimmings in lidded bins, and don't let dried clay dust accumulate on shelves.
- Wash aprons and studio clothes separately from household laundry, and never eat, drink or smoke in the workspace.
Wash your hands properly before you leave the studio, using warm water and soap rather than scrubbing with a dry towel. If you're working with clay regularly and notice a persistent cough, shortness of breath, or skin that won't settle, get it looked at by a GP rather than assuming it will pass.
2. Ventilation and airflow
Good ventilation does two jobs: it clears dust and it carries away kiln fumes. A still, closed room is the worst case for both.
For hand-building and throwing, you need air movement through the space — a cross-draught from open windows or doors, or a mechanical extractor. In winter it's tempting to seal everything up; keep at least one vent open and accept the extra layer of clothing.
Kilns need their own air
Kilns should be fired in a ventilated space, ideally with a dedicated extractor or canopy hood, and never in a living area. Glazes and clay bodies can release fumes during firing, and the kiln itself gets hot enough to ignite anything stored too close to it. Keep the surrounding area clear, follow the manufacturer's clearance instructions, and check any local rules that apply to kiln installation and ventilation where you are.
3. Electrical safety around water
Every pottery studio combines water, wet hands and powered equipment. That combination deserves respect.
Before you switch anything on
- Check that sockets serving the studio are protected by an RCD (residual current device), and test it.
- Inspect plugs and cables for cracks, scorch marks or exposed wire. Replace rather than repair with tape.
- Keep leads off the floor and away from splash zones. Water and trailing cables are a poor pairing.
- Unplug the wheel, pug mill or mixer before cleaning it.
- Run kilns from a suitable circuit as specified by the manufacturer, not from an extension lead.
Kiln discipline
Keep combustible materials well clear. Have a suitable fire extinguisher nearby and know which type it is before you need it. If you fire overnight, make sure the kiln sits in a space where nothing can fall against it and where the power can be isolated quickly. Log your firings — it helps you spot a kiln behaving oddly before it becomes a problem.
4. Look after your body at the wheel
Pottery is physical work done in one position for long stretches. Set your wheel or bench height so your forearms rest comfortably and your shoulders aren't hunched. Wedge on a sturdy table rather than a wobbly bench. Take a proper break every forty minutes or so, and vary tasks through the day instead of throwing for four hours straight.
Skin matters too. Clay is drying, and repeated wet-dry cycles can lead to cracked hands and dermatitis. Use a barrier cream if you're prone to it, wash with warm water and a gentle soap, dry thoroughly, and moisturise after a session. If your hands crack, blister or itch persistently, speak to a pharmacist or GP.
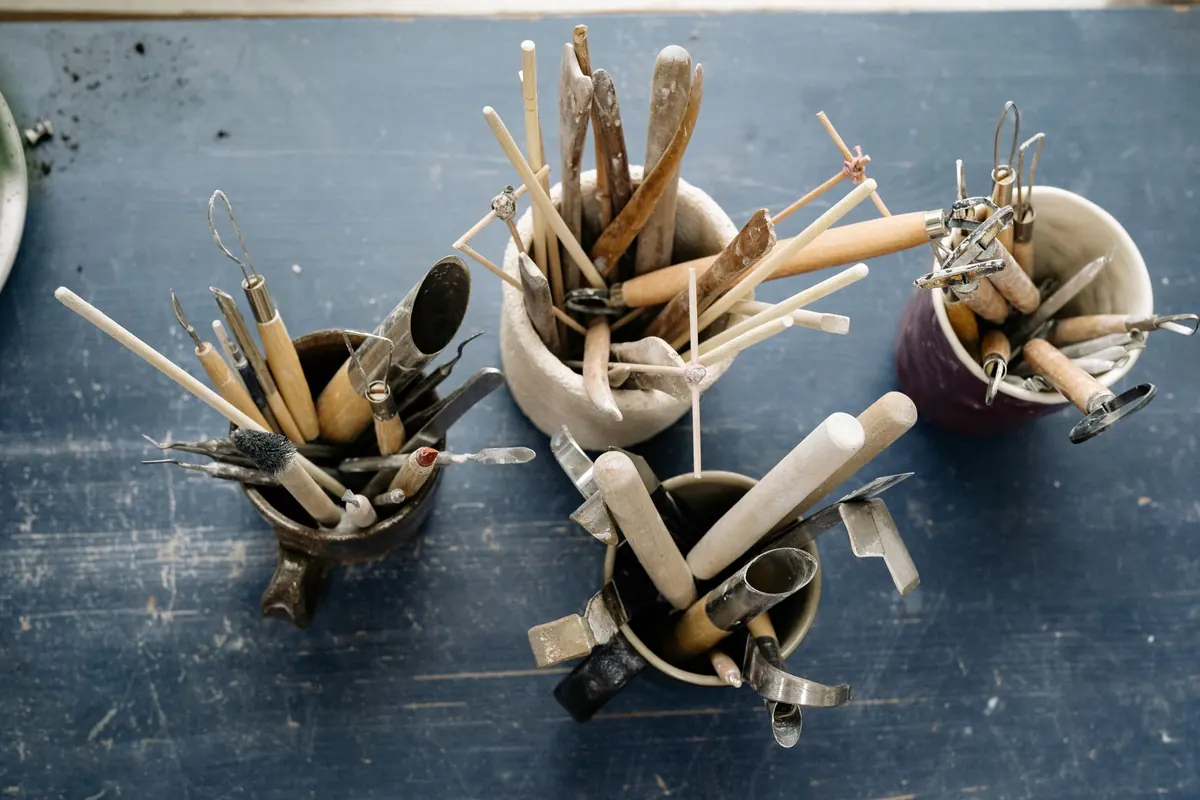
Finally, tie long hair back, remove rings and watches, roll up loose sleeves, and keep sharp tools stored point-down and away from where you reach for clay.
5. Your five-minute pre-session check
Run through this in order. It takes less time than wedging a bag of clay.
- Open windows or vents and confirm the extractor is running.
- Damp-mop the floor and wipe benches and shelves.
- Check lidded bins are closed and clay waste is contained.
- Refresh your throwing water and make sure no container of water sits near a socket.
- Test the RCD; check plugs, cables and leads.
- Tie hair, remove jewellery, put on an apron, and have your respirator within reach.
- Confirm the kiln area is clear and the last firing is complete and cool.
- Make sure the first aid kit and eye wash are stocked and easy to find.
Make it a habit, not a ritual
The point of a checklist isn't to turn your studio into a laboratory. It's to make the safe option the automatic one, so your attention is free for the work itself. Do these checks for a few weeks and they'll fold into the rhythm of setting up: air moving, floor damp, cables clear, hands clean.
Two last things. Check your own body as well as the room — a headache, dizziness or a stubborn cough after a session is your signal to stop, ventilate and think about what changed. And if you're setting up a new kiln, altering your workspace, or dealing with a health concern that won't go away, take proper professional advice from the manufacturer, your installer, or a doctor. Good habits are cheaper than repairs.
Photo: Yan Krukau / Pexels