
Most people arrive at pottery with a picture already in their head: hands slick with slip, a wheel spinning, a tall cylinder rising out of a lump of clay. It is a lovely picture, and it is one honest way in. It is not the only one, and for plenty of beginners it is not the best one. Wheel throwing and hand building ask different things of you — different amounts of space, patience and money — and they suit different instincts. Pick the wrong starting point and you can spend three months fighting a wheel when you would have been perfectly happy making planters at the kitchen table.
What each method actually involves
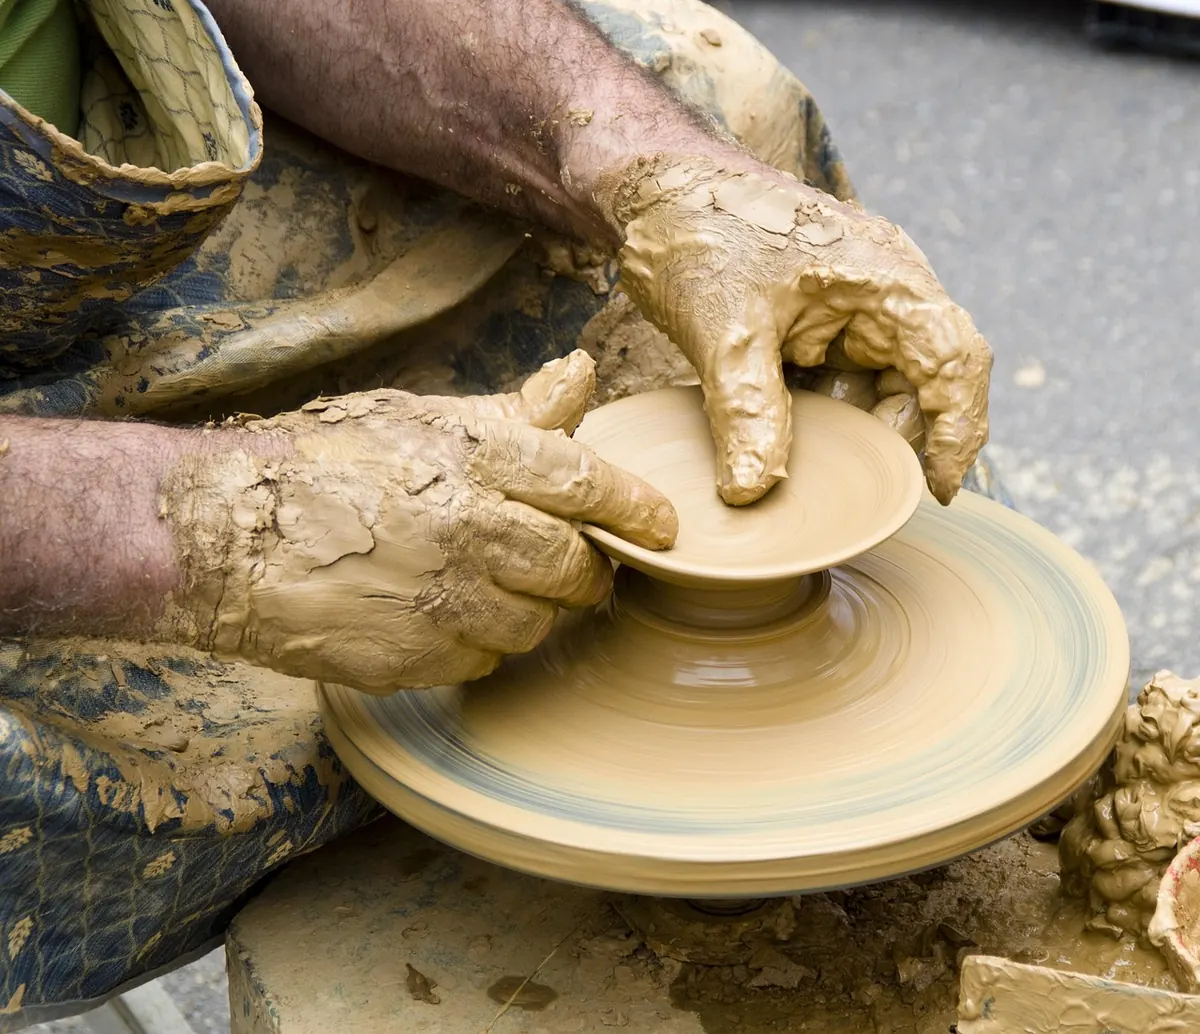
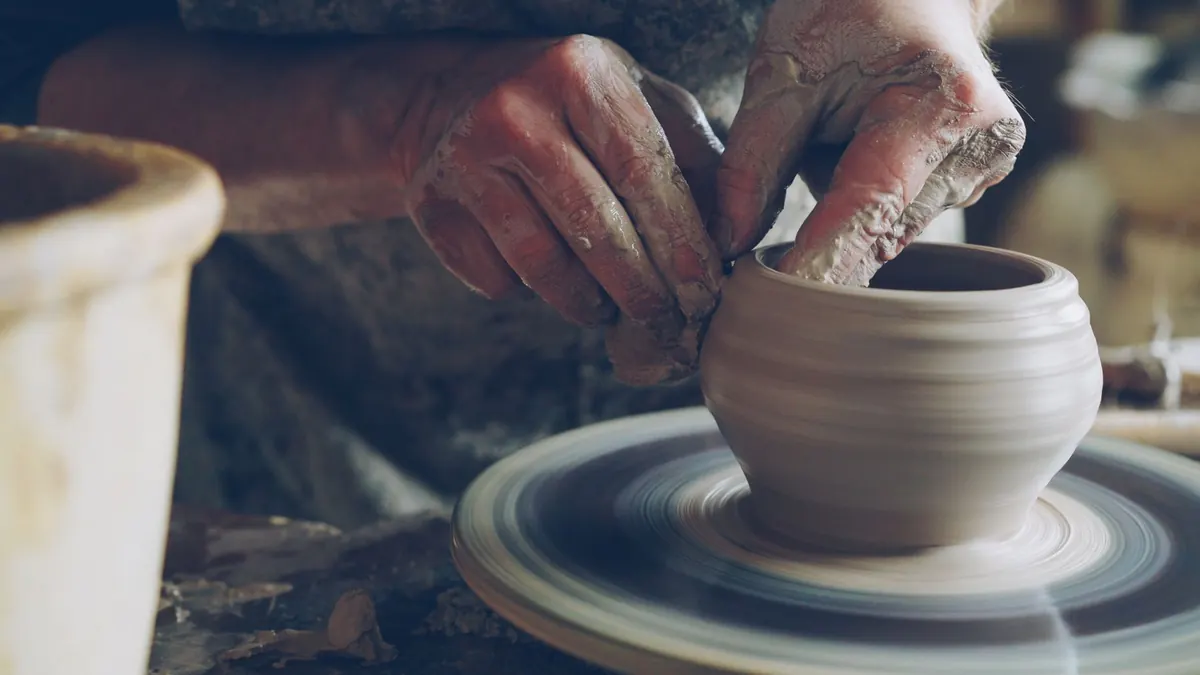
Wheel throwing means working on a spinning wheel head. You centre a ball of clay, open a hole in the middle, then pull the walls upward between your fingers while the wheel turns. The whole craft rests on control: if the clay is not centred, nothing that follows will hold its shape.
Hand building covers everything you make without a wheel — pinching, coiling, rolling slabs, pressing clay into moulds. It is the older tradition by a long way, and it is how most pots in the world were made for most of history. Nothing about it is a lesser version of throwing. A coiled vessel can be taller and thinner than anything you will manage on a wheel in your first year.
Wheel throwing: rhythm and repetition
The first hurdle is centring, and it is a real one. Most beginners need several sessions before a ball of clay stops wobbling under their hands. After that, progress comes quickly: opening, pulling walls, shaping a rim, then trimming a foot ring once the pot is leather-hard.
Throwing rewards people who enjoy repetition — the same movement, refined over and over. It is physical work. Your hands, wrists and back all get involved, and a two-hour session can leave you tired in a way that surprises you.
The trade-off is cost and space. A wheel is a serious purchase, and it needs a sturdy spot, water, somewhere to deal with the slops, and a kiln at the end of it. Most beginners learn in a studio class or rent bench time rather than buying equipment of their own.
Hand building: three techniques cover most of it
- Pinch pots. Push your thumb into a ball of clay, then pinch and rotate the walls outward. It is the quickest way to understand how clay behaves, and you can make a small bowl in ten minutes.
- Coils. Roll clay into ropes, then stack and join them with scored edges and slip. Coiling is slow and absorbing, and it is the best route to large or irregular forms.
- Slabs. Roll clay flat between boards or with a rolling pin, then cut and join the pieces into boxes, mugs, tiles and planters. Slab work gives you crisp edges and flat surfaces that are awkward to throw.
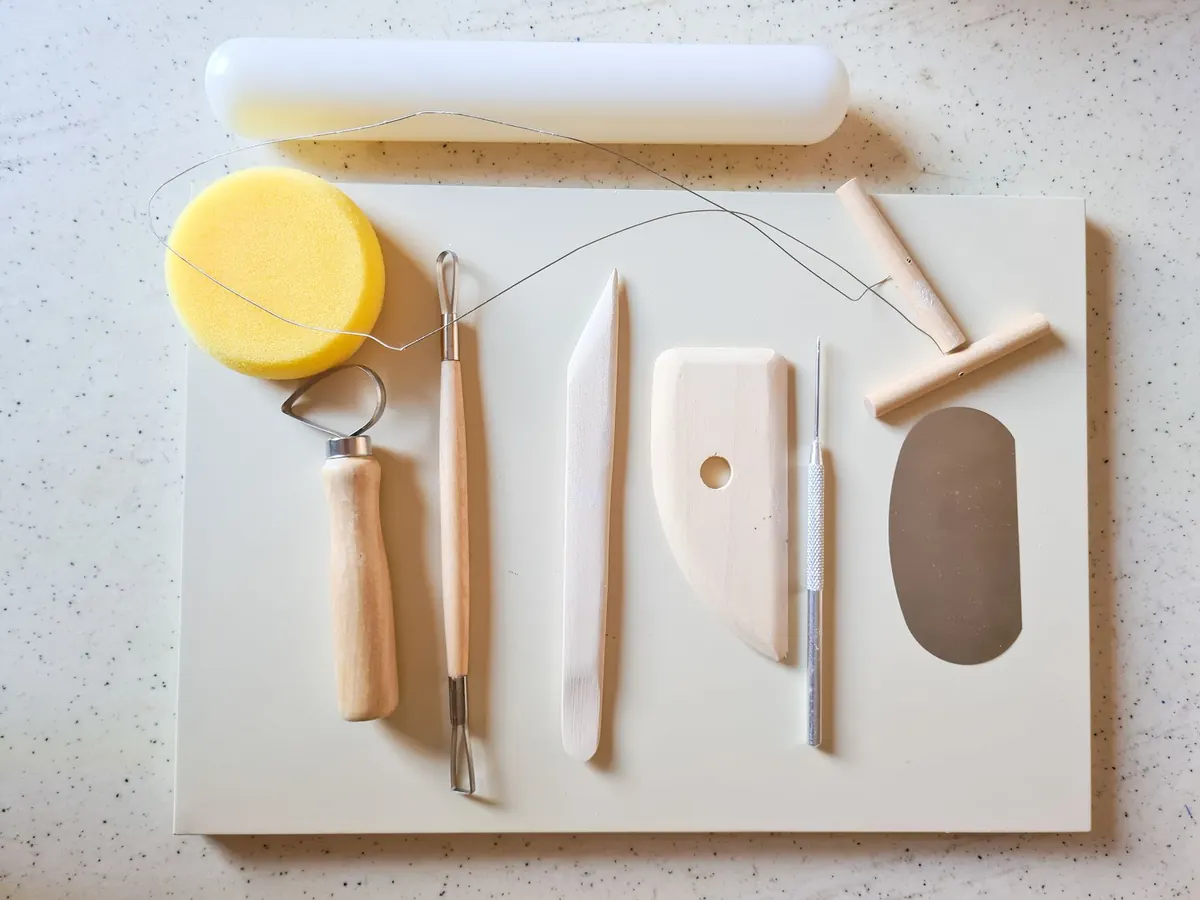
Add a wooden rib, a needle tool, a sponge and a little patience, and you have almost everything hand building asks of you.
A straight comparison
- Start-up cost: hand building is cheaper. A bag of clay, a few tools and a board will get you going.
- Space: hand building works on a kitchen table; throwing needs a wheel, water and proper mess control.
- Learning curve: hand building is forgiving from day one. Throwing has a wall to climb before anything looks like a pot.
- Speed to a finished piece: a pinch bowl can be drying by teatime. A thrown bowl takes longer to learn, then becomes fast.
- What it teaches: throwing teaches consistency and centring. Hand building teaches joining, structure and surface.
- Kiln access: the same problem for both. You still need a kiln, or someone else's.
What you need before you spend anything
Both routes share the same essentials: clay, a few basic tools, a clean work surface, somewhere for pieces to dry slowly without cracking, and access to a kiln. That last item is the one that stops people. Firing is not something you improvise, so most beginners use a class, a studio or a community kiln and pay per firing.
One practical note on health: fine dust from dry clay and glaze materials is the main hazard in a pottery space. Wipe surfaces with a damp cloth instead of sweeping, avoid sanding dry clay indoors, and keep glazes off your skin. If you have a lung condition, speak to your GP before setting up a home workspace, and follow the safety instructions that come with any glaze or material you buy.
Which one suits you?
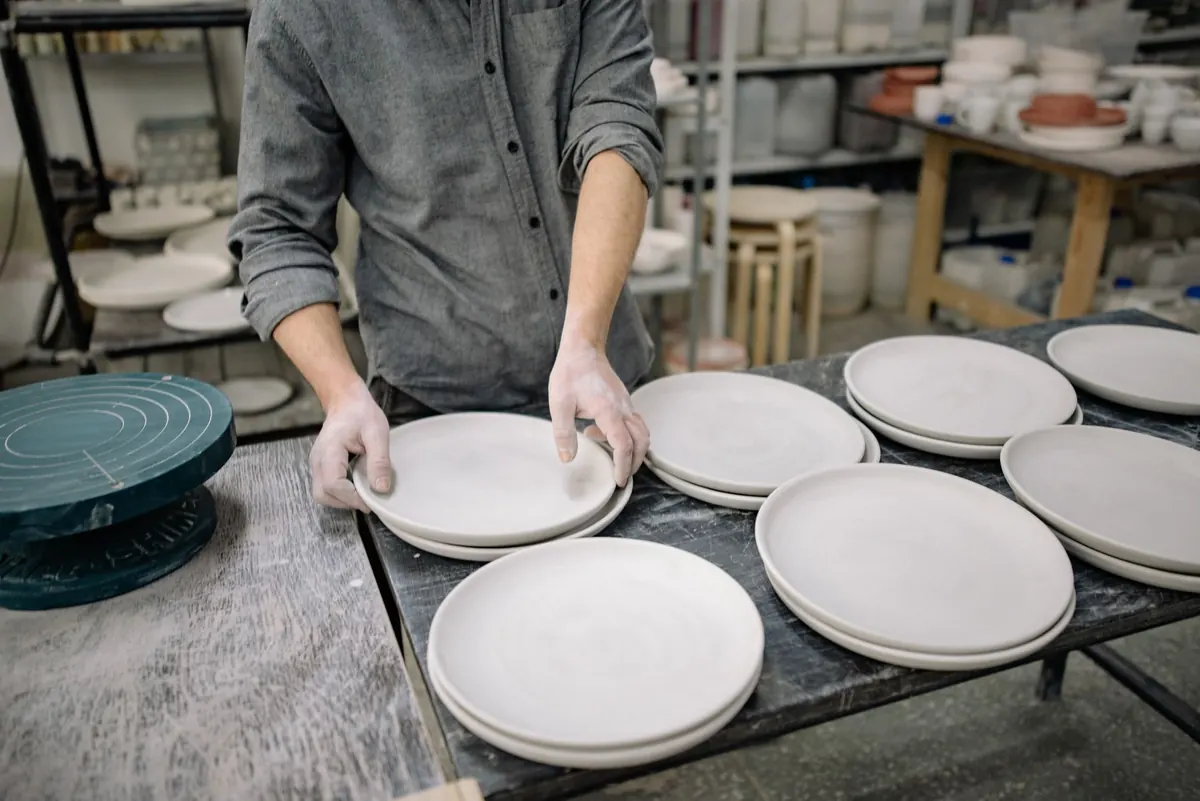
If you want a matching set of dinner plates and you like the idea of repeating a form until it is right, throwing is probably your path. If you are drawn to planters, tiles, sculptural pieces or anything angular, hand building will get you there sooner. If you live in a flat with a small table and no garage, hand building is the obvious place to start.
Plenty of potters do both, and the two feed each other. Thrown cylinders with hand-built slab handles, coiled bases under thrown rims — that mixing is where a lot of good work happens.
How to make the decision properly
Book a taster session or, better, a short evening course that covers both methods. Six weeks is usually enough to know whether centring frustrates you or fascinates you. Buy one bag of clay rather than a wheel. Ask the studio about kiln access and firing charges before you commit to a term, and check whether they fire to stoneware or earthenware, because that affects which glazes you can use.
Then give it time. Six to eight sessions is a fair trial. Keep your first pots, including the ones that lean and the ones with cracks — they are the only record you will have of how quickly you actually improved.
Photo: Vitaly Gariev / Pexels