
Air pockets are the headline reason potters wedge clay, and they earn the attention: a bubble trapped in the wall of a thrown pot can tear a rim as you pull it, or blow out in the kiln and take a shelf of work with it. Wedging does more than that, though. It evens out moisture through the lump, breaks down hard patches, and lines up the clay particles so the body behaves predictably under your hands. Ten minutes at the bench saves a great deal of frustration at the wheel.
What wedging actually does
When you wedge a lump of clay, you are doing three jobs at once:
- Removing air. Pockets of air get compressed by your hands during throwing and can open up again in the kiln. Firing does not forgive trapped moisture or air.
- Evening out moisture. A lump can feel soft on the outside and stiff in the middle. Wedging spreads that water through the whole body.
- Aligning particles. Clay minerals are flat and plate-like. Working the lump in a consistent direction lines them up, which makes the clay more cooperative on the wheel.
There are two main hand methods — spiral wedging and ram's head wedging — plus wire wedging, which is really cutting and slamming. Most potters use a mix, depending on how much clay they have and how wet it is.
Setting up before you start
Choose your surface first. A plaster bat draws moisture out of wet clay, while a canvas-covered board is kinder to firmer lumps and stops them sticking. Bare worktops grip and smear, so avoid them.
Start with a lump you can handle comfortably — around a kilo. Anything much bigger will tire your hands before you have learned the rhythm, and tired hands make sloppy work.
Check the consistency by pressing your thumb into the lump. It should dent under firm pressure without sticking to your skin. If it smears across your fingers, it is too wet: spread it on plaster for an hour or leave it out to firm up. If it crumbles at the edges, it is too dry: sprinkle with water, wrap it tightly in a plastic bag, and leave it overnight to equalise.
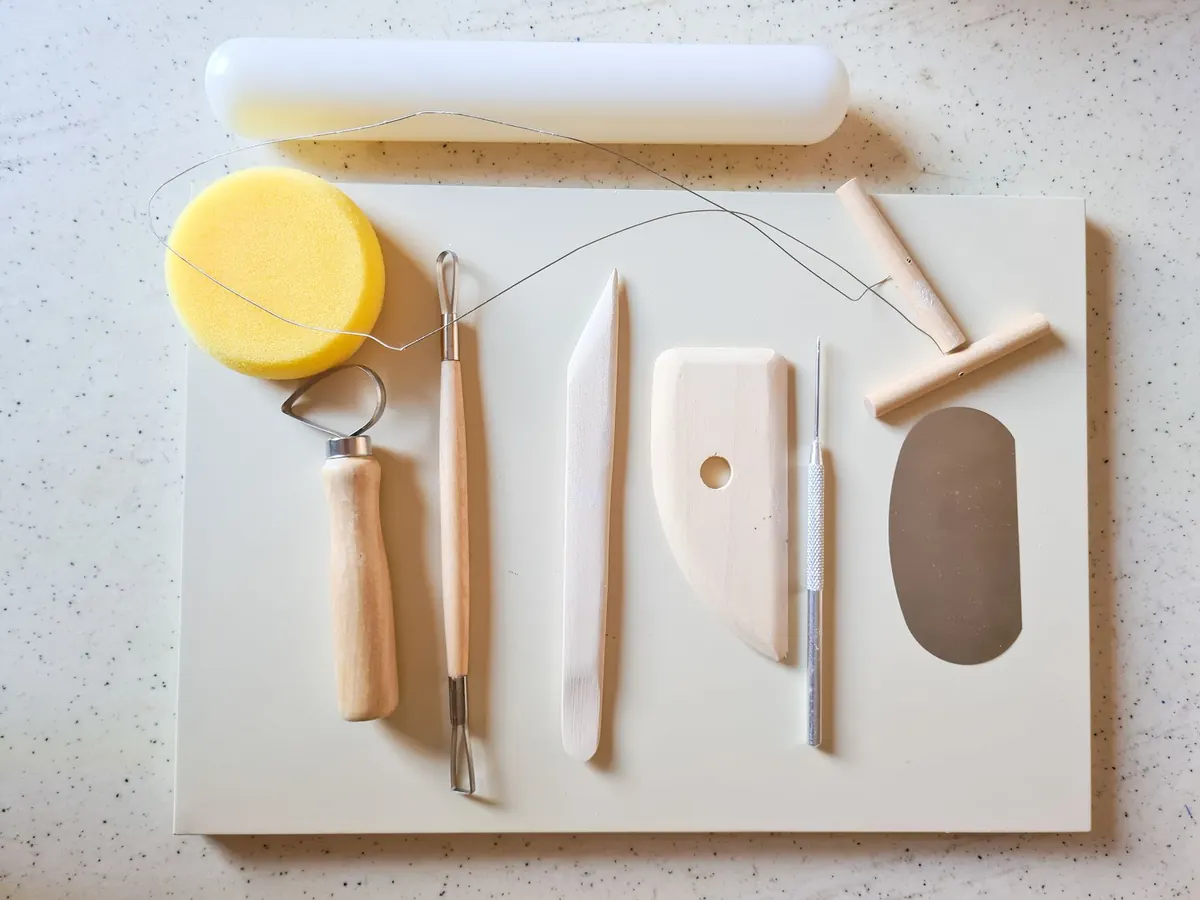
Keep a wire cutter and a bucket of scrap nearby. You will cut the clay to check your work, and there is no shame in recycling a lump that is not behaving.
Spiral wedging, step by step
Spiral wedging suits softer clay and larger lumps, and it is the method many potters use daily. The motion is a cross between kneading dough and pushing a heavy weight away from you.
- Shape the clay into a rough cone or loaf, with the wider end flat on the surface.
- Steady the lump with your non-dominant hand. Push the heel of your working hand down and forward into the top of the clay, compressing it away from you.
- Draw your hand back, rolling the clay into a spiral, and fold the far edge back over the top.
- Give the lump a quarter turn and repeat. Keep the shape roughly conical as you go.
- After several cycles, turn the lump around and work the other end so you do not build a twist into the clay.
- Continue until the lump feels even and slightly warm — usually a few minutes for a kilo. Then cut and check.
Use your body weight rather than your arm strength. Keep your fingers together and your working hand fairly flat. If the clay starts to screw itself into a spiral and cracks at the folds, you are being too rough or the clay is too stiff; reform it and start again with gentler pressure.
Ram's head wedging, step by step
Ram's head wedging suits firmer clay and smaller lumps, and it is useful when you want to open a wet body up to the air. The name comes from the butting motion of your hands.
- Form the clay into a rounded loaf, slightly flattened on the base.
- Stand or sit with the clay directly in front of you and place both hands on top of it, thumbs tucked out of the way.
- Push down and forward with the heels of both hands, as though butting the clay away from you. The lump squashes forward into a bulge.
- Bring your hands back and fold the leading edge up and over, back towards you.
- Rotate the lump a quarter turn and repeat.
- Keep going until the clay feels uniform and looks the same all over. Cut and check.
Because each push exposes a fresh surface to the air, ram's head wedging also helps a slightly wet clay firm up. Press every fold down firmly — a loose fold traps a layer of air and undoes the work you have just done.
How to tell when the clay is ready
The only reliable test is to cut the lump. Run your wire cutter through the middle and look at the cross-section.
- The colour should be even. Dark holes or light, chalky patches mean trapped air or dry lumps.
- There should be no hard spots when you press with a thumb.
- The clay should feel slightly warm and spring back gently, rather than sagging or crumbling.
- The folds should hold together without cracking.
If you see holes, fold the clay and wedge again. If it looks streaky, keep going. A lump that is ready feels consistent all the way through, and it will behave predictably once it hits the wheel.
Common mistakes and how to avoid them
Folding air in. Press each fold down before the next push. A trapped fold is worse than the air pocket you started with.
Wedging clay that is too dry. Dry clay crumbles into hard
Photo: MrHà / Pixabay